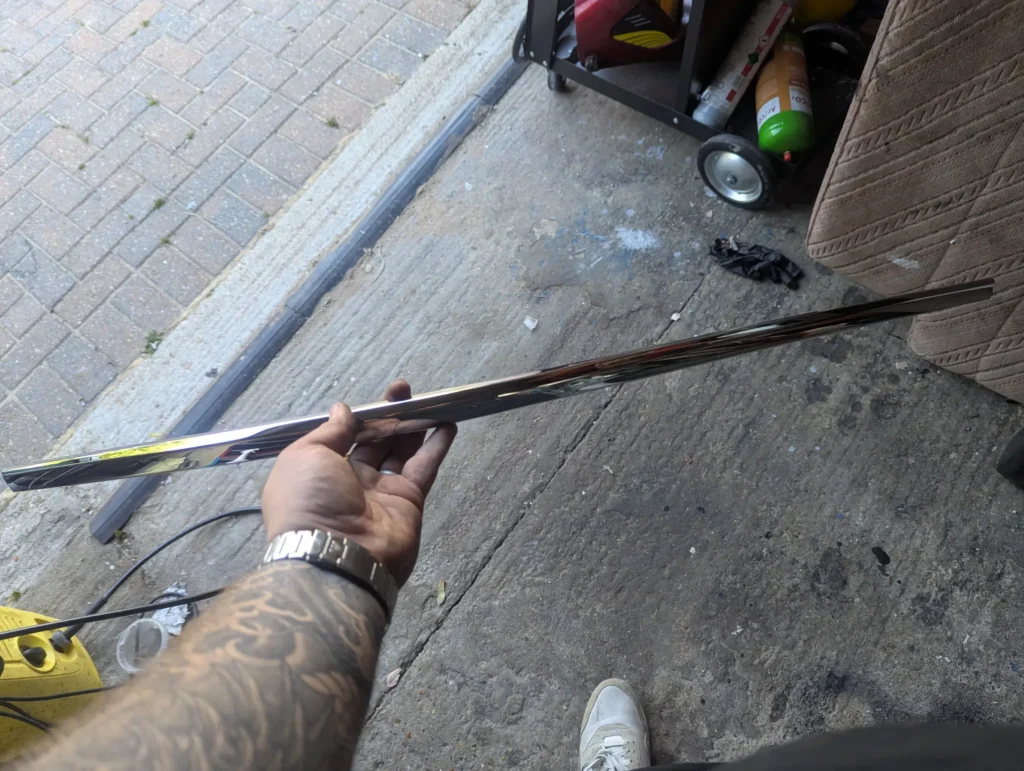
This was a job I was had planned for a while but as it wasn’t essential, things kept getting in the way! A few months ago I purchased new replacement chrome trim for the rear section of my car however due to me previously painting the chrome black across the car as a whole, I needed to do the same with the new trim otherwise it wouldn’t match.
I began by removing the old, flaked trim and test-fitted the new trim to ensure it would fit. When de-chroming the trim in the past, I didn’t use any primer which has caused parts across the car to start flaking off so this time I wanted to ensure I thoroughly prepped the chrome before hand.
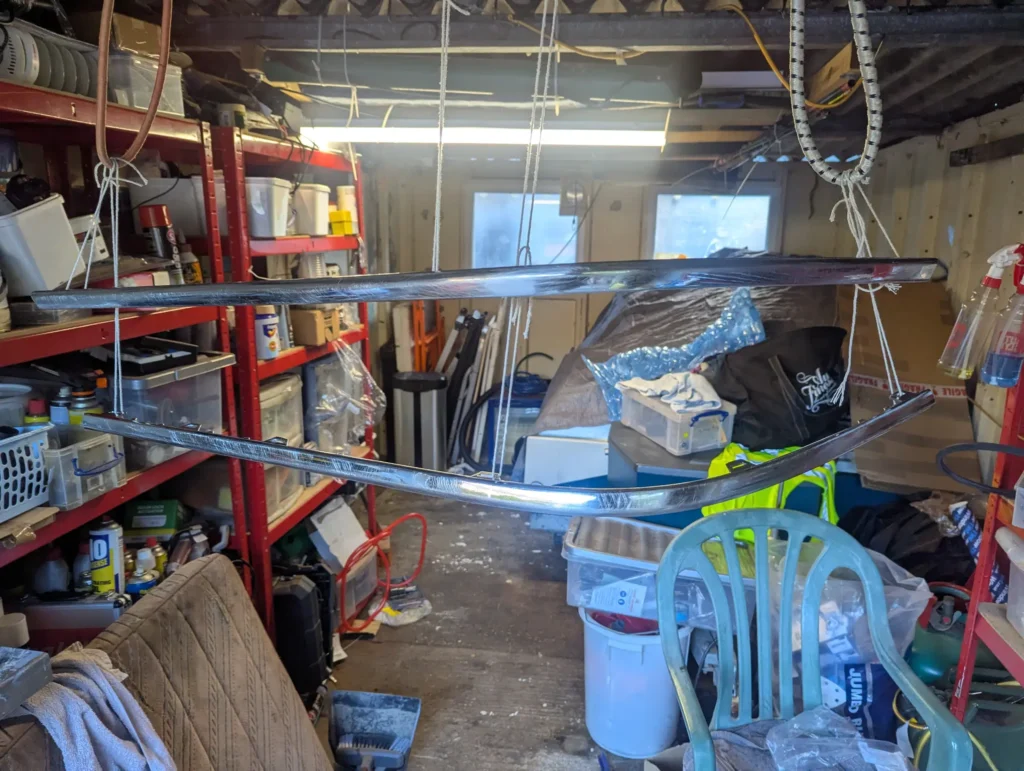
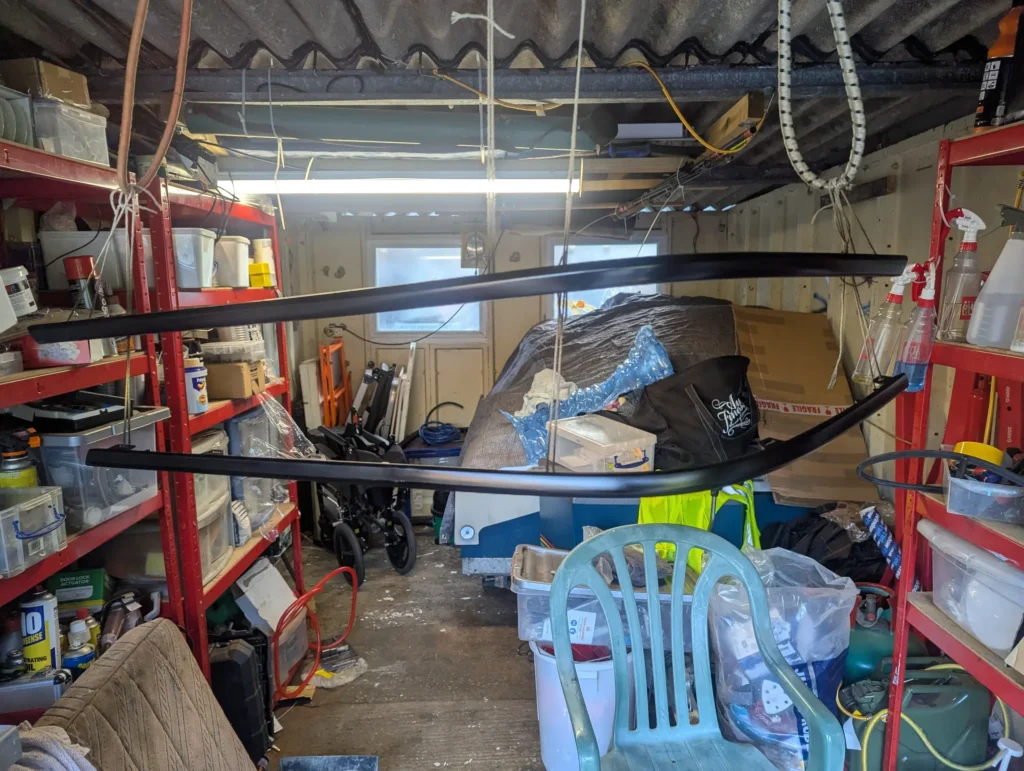
With the chrome being such a smooth surface, my first step was roughing the chrome surface by using 60 grit sand-paper to ensure the primer adhered securely. Once both pieces were adequately sanded, I then devised a hanging system to allow me to paint both sides at once without risking any damage to the drying paint. It consisted of two bungee cords and a few pieces of string which surprisingly worked extremely well!
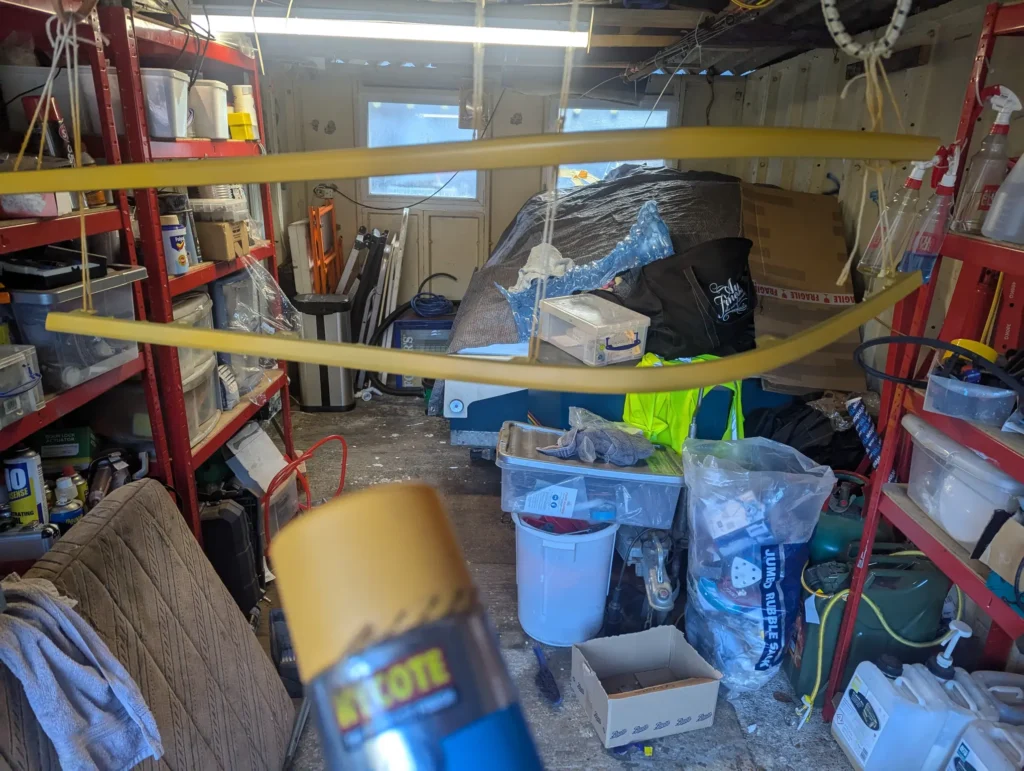
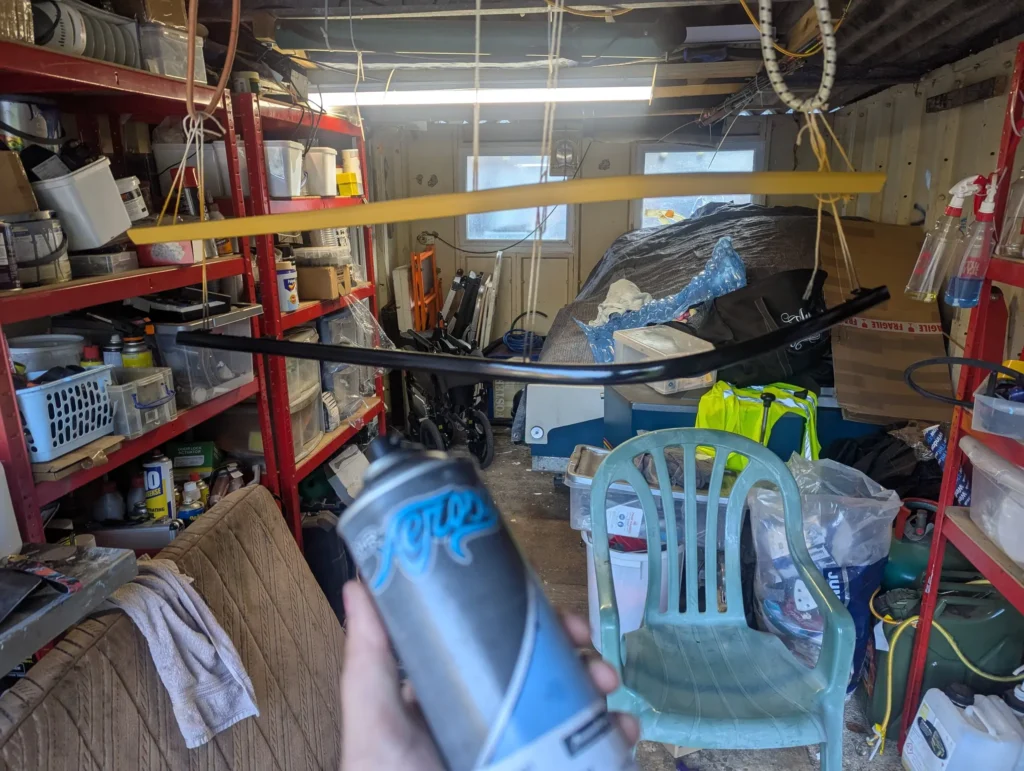
Once they were hung, I rubbed them over with de-greaser to remove any residue left from sanding and proceeded to apply 2 layers of primer with the latter being a lighter coat. Once this was completely dry, I then used the colour-matched paint to apply 2 coats of this to the primed trim and allowed this to dry. Whilst I was doing this, I also gave my car a thorough clean (which I will add as my next post) in the periods where I was waiting for the paint to dry.
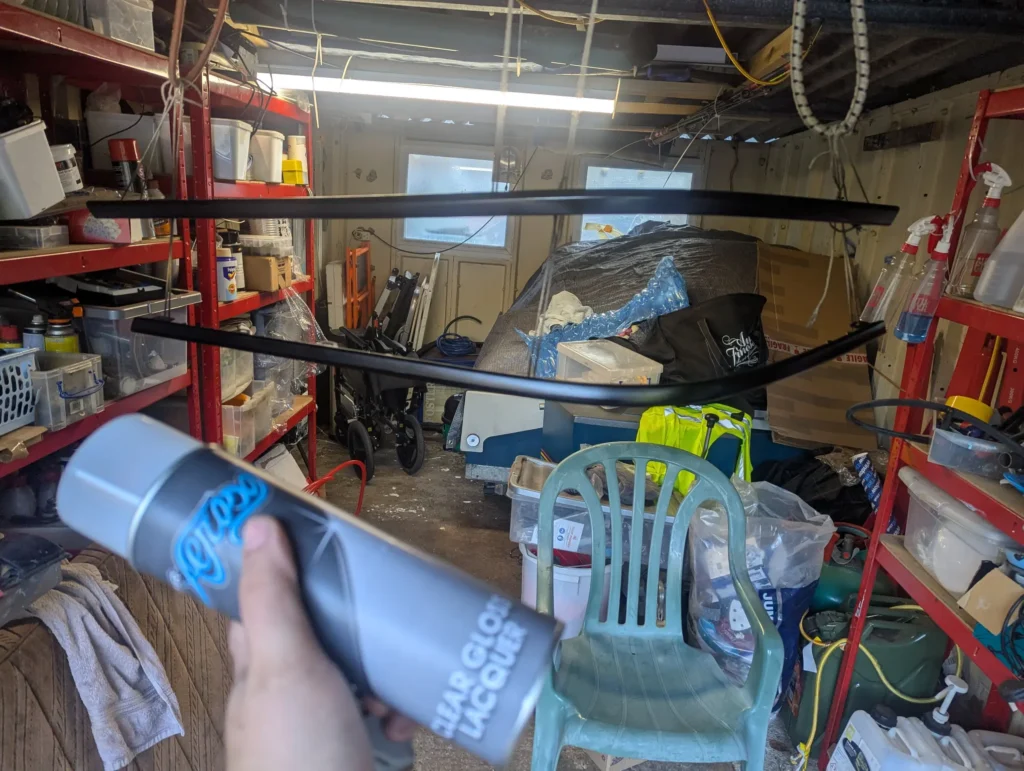
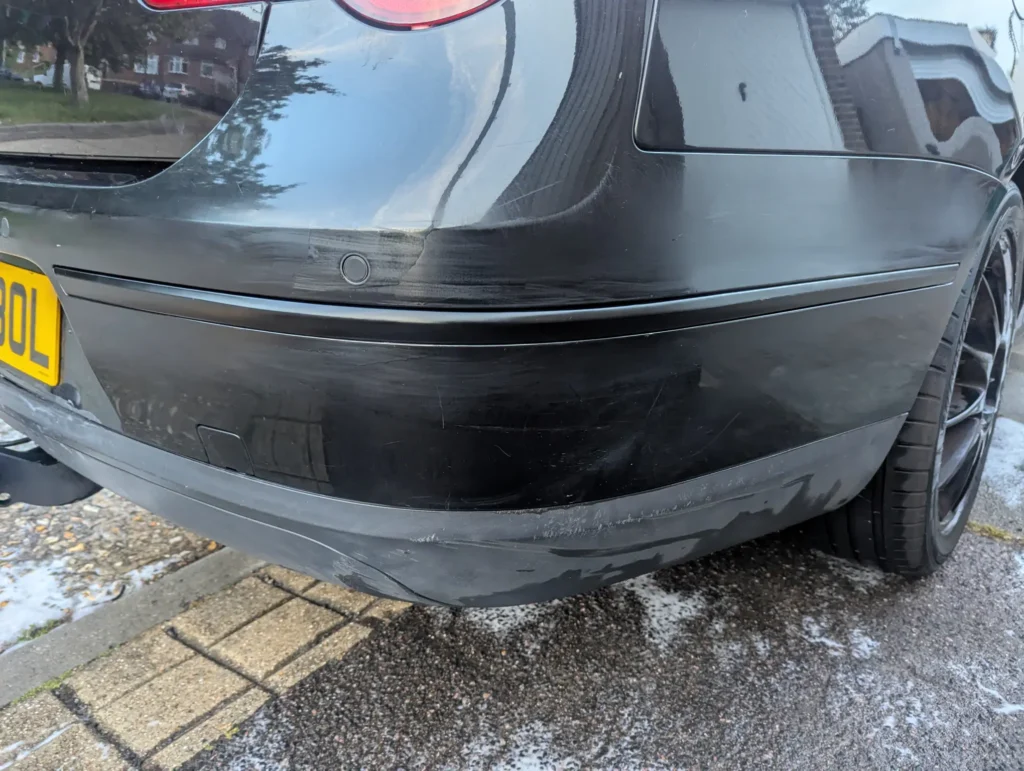
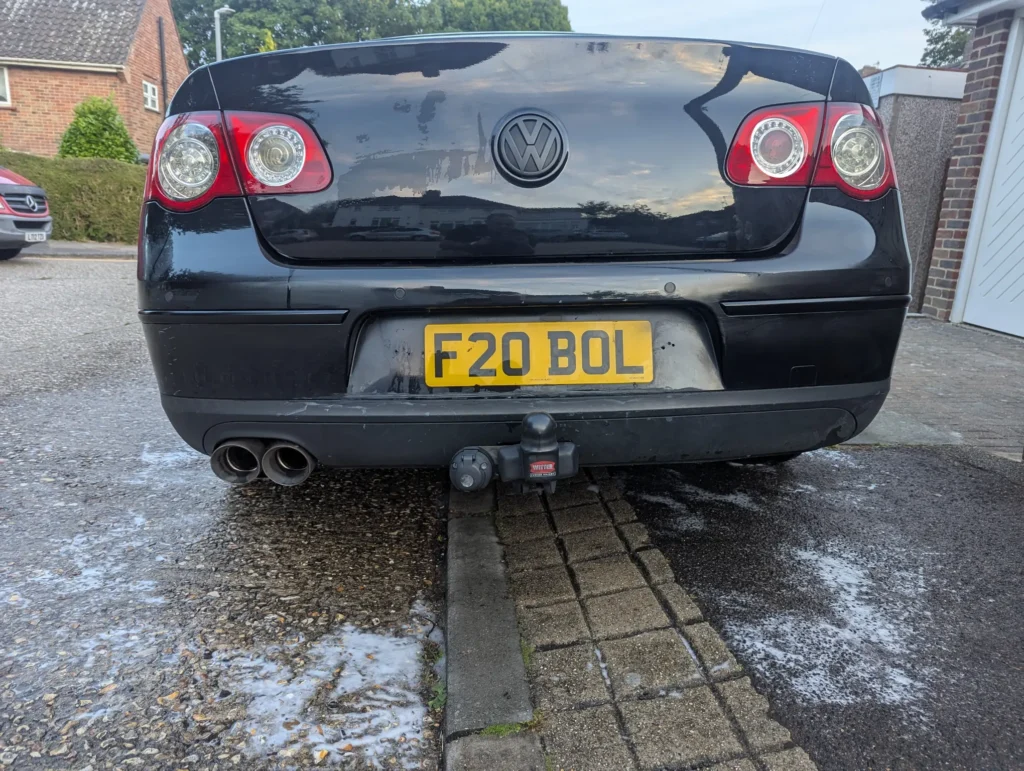
The final step once this was dry was to add 2 coats of clear laquer to the trim (a step which I also skipped last time round) with the intention of giving it much more protection when on the car. Once this was dry I then mounted the trim back on my car which was a lot easier that I thought it would be!
I’m very pleased with the outcome and knowing it will last much longer makes it even better too!